
Cruxy / Support / Logging time
Logging time
Track time with the timer, add it by hand, or fill in a weekly timesheet.
Updated
Use the timer
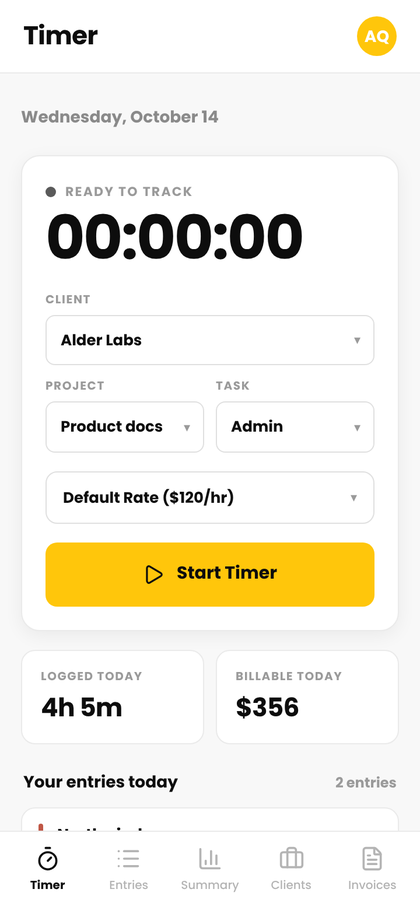
- Tap Timer. Pick the client, project and task.
- Tap Start Timer.
- Tap Pause for a break and Resume to carry on.
- Tap Stop & Log to save the time as an entry.
Time is rounded to the nearest minute, with a minimum of 1 minute. Paused time isn't counted. The pickers are locked while the timer runs.
A running timer survives closing the app. If you start it on your phone, you can stop it from another device.
Add a time entry by hand
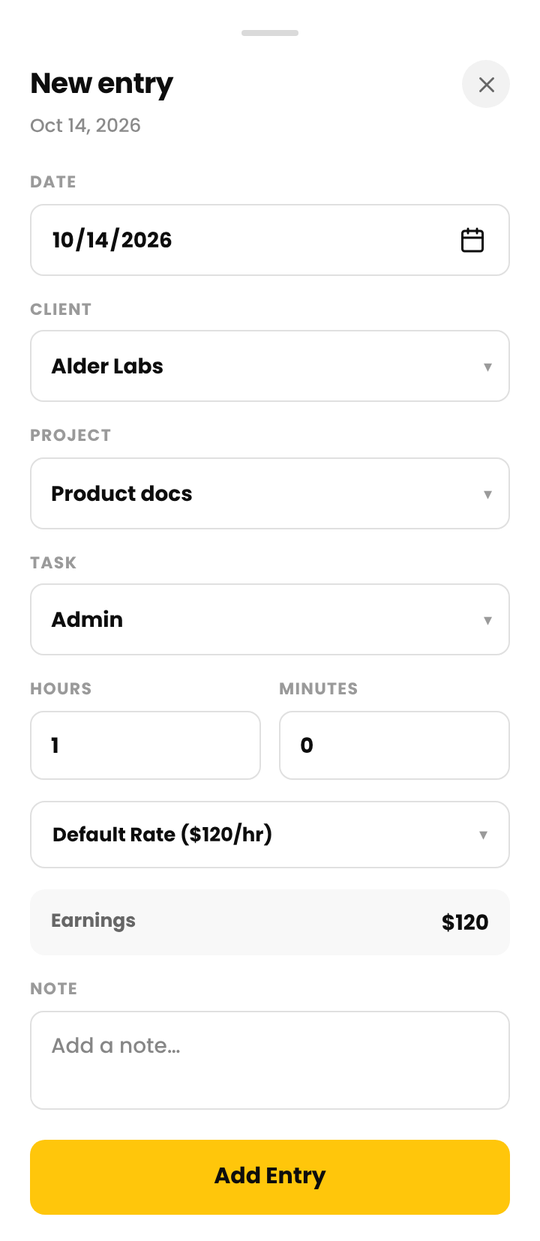
- Tap Entries, then New, then Time Entry.
- Choose the date, client, project and task.
- Enter the hours and minutes. Add a note if you like.
- Tap Add Entry.
The smallest entry is 1 minute.
Edit or delete an entry
Tap an entry in Entries (or in "Your entries today" on the Timer) to open it. Change what you need and tap Save Changes. To remove it, tap the trash icon and confirm. Deleting can't be undone.
A few things to know:
- Entries for an inactive client are view only.
- If the time is already on an invoice, a note tells you which one. You can still edit or delete the entry, but the invoice does not change.
- Each entry keeps the rate it was logged at. If you change a client's rate later, old entries keep their original rate. Tap Use Current Rate on an entry to switch it.
Change the rate on a single entry
If the client has an hourly rate, the timer and the entry form show a rate row. Tap it to choose Default Rate, Custom Rate (an hourly rate you type in) or Non-Billable. Non-billable time never goes on an invoice.
Resume an earlier entry
In "Your entries today" on the Timer, tap Resume on an entry. The timer starts, and when you stop it the time is added to that entry. If another timer is running, it is logged first.
Use the weekly timesheet
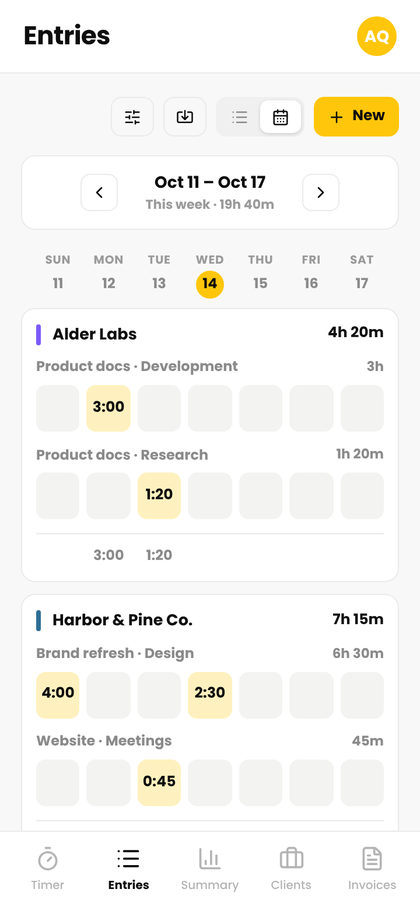
On Entries, tap the calendar icon to switch to Timesheet view, which shows the week as a grid, one card per client. Tap the list icon to switch back.
- Add Row picks a client, project and task to list.
- Copy Last Week's Rows brings over last week's rows (not the time) to save setup.
- Tap an empty cell and type a time such as
1h 30m,1:30,1.5or90m. The most you can add at once is 24 hours. - Tap a cell that already has time to edit it. A cell with several entries opens a list.
The week starts on the day you choose in Settings > Profile.
Filter your entries
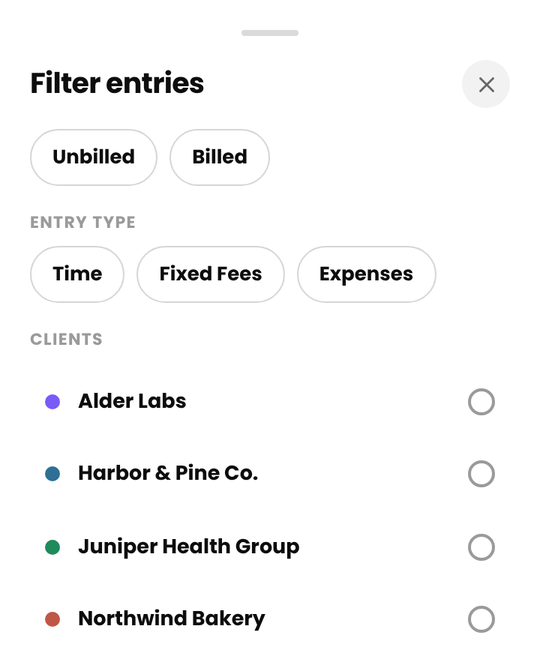
On Entries, tap the filter button (the sliders icon). You can show:
- Unbilled or Billed time
- Time, fixed fees or expenses
- One or more clients, including inactive ones
The client filter also applies to the Summary tab.
Change the period you are viewing
The bar at the top of Entries and Summary switches between Week, Month and Custom. Use the arrows to step to the previous or next period, and the double arrow to jump back to today. Both tabs share the same period.
See your totals on Summary
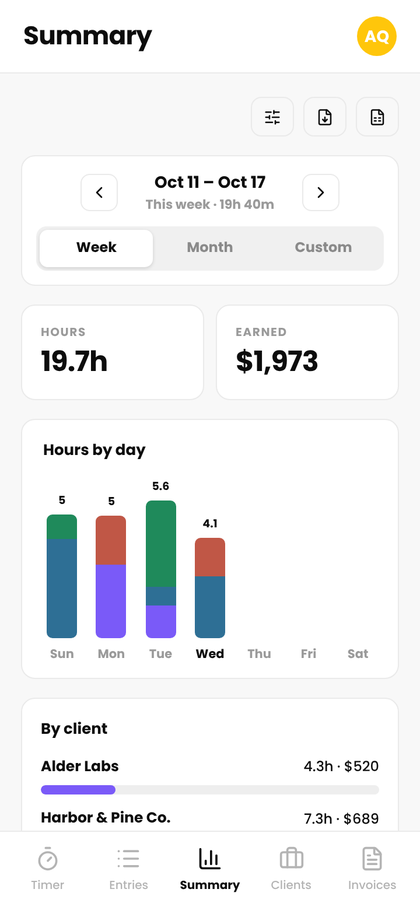
The Summary tab shows your hours and Total Billable for the period: time at your rates, plus fixed fees (retainers included) and expenses, before tax. It's what an invoice for the period would total. The Fixed Fees and Expenses tiles show the breakdown.
Below that are a chart of hours by day and breakdowns By client, By project and By task. By client includes each client's fixed fees and expenses. Fees and expenses belong to a client, not a task or project, so By project and By task show time only. Amounts are shown per currency.
Export your time
On Summary, use the two download icons at the top right.
- The CSV icon saves every entry in the period: date, client, project, task, hours, rate, earnings, currency, whether it's billable, invoice number and note.
- The PDF icon saves a summary for the period with one section per client, including fixed fees and expenses.
Free PDFs carry a small "Generated with Cruxy" credit. Pro PDFs don't.
Manage your tasks
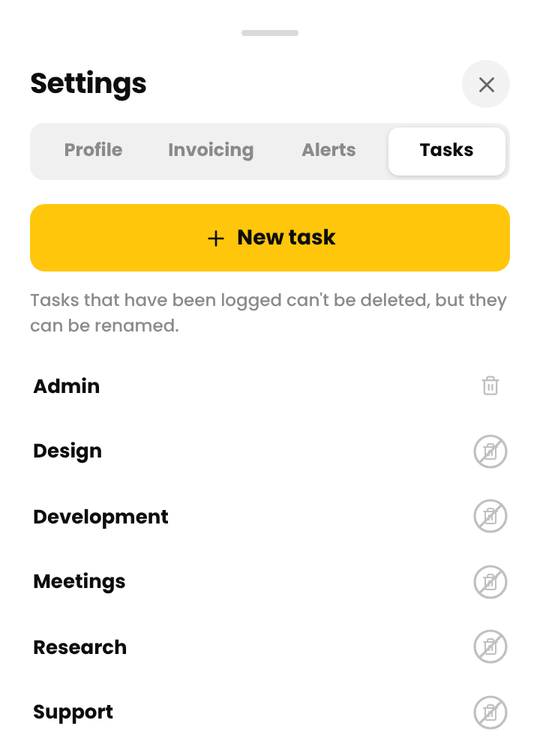
Tasks (like Design or Meetings) are shared across all your clients. Open Settings > Tasks and tap New task to add one, or tap a task to rename it.
- You can also add a task from the Timer's task list with + Add new task.
- Renaming a task changes its name on every entry, including old ones.
- A task that has entries can't be deleted, and its trash icon is crossed out. Rename it instead.
Work offline
New time entries are saved on your device first, then sent when you're online. A banner shows when entries are waiting to sync and confirms when everything is saved.
Editing or deleting entries, and anything in Clients, Settings and Invoices, needs a connection. If an entry can't be saved (for example, its client was deleted), the banner offers Retry or Discard.